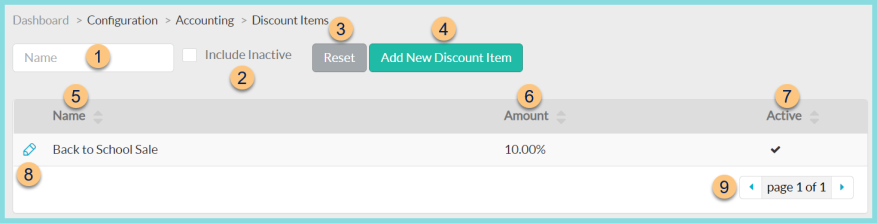
Discount Items
Configuration > Accounting > Discount Items
-
Name - search by name
-
Include Inactive - check to include inactivated items
-
Reset - click to reset search parameters
-
Add New Payment Item - click to add a new discount item. See Step 8 for details.
-
Name - click to sort by name
-
Amount - click to sort by discount amount
-
Active - click to sort by active status
-
Pencil - click to edit item
-
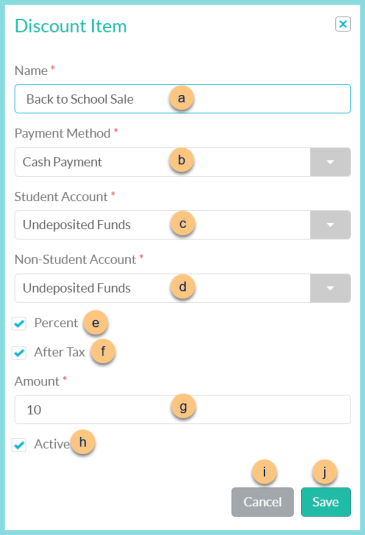
Name - enter discount item name
-
Payment Method - select payment method
-
Student Account - select the account for students
-
Non-Student Account - select the account for non-students
-
Percent - check to indicate a percent discount; leave unchecked for a dollar amount discount
-
After Tax - check to indicate that the discount applies after tax; leave unchecked to apply before tax
-
Sort Order - change sort order as needed
-
Active - toggle active status
-
Cancel - click to return to the previous screen without saving changes
-
Save - click to save changes
-
< > - click to scroll through pages